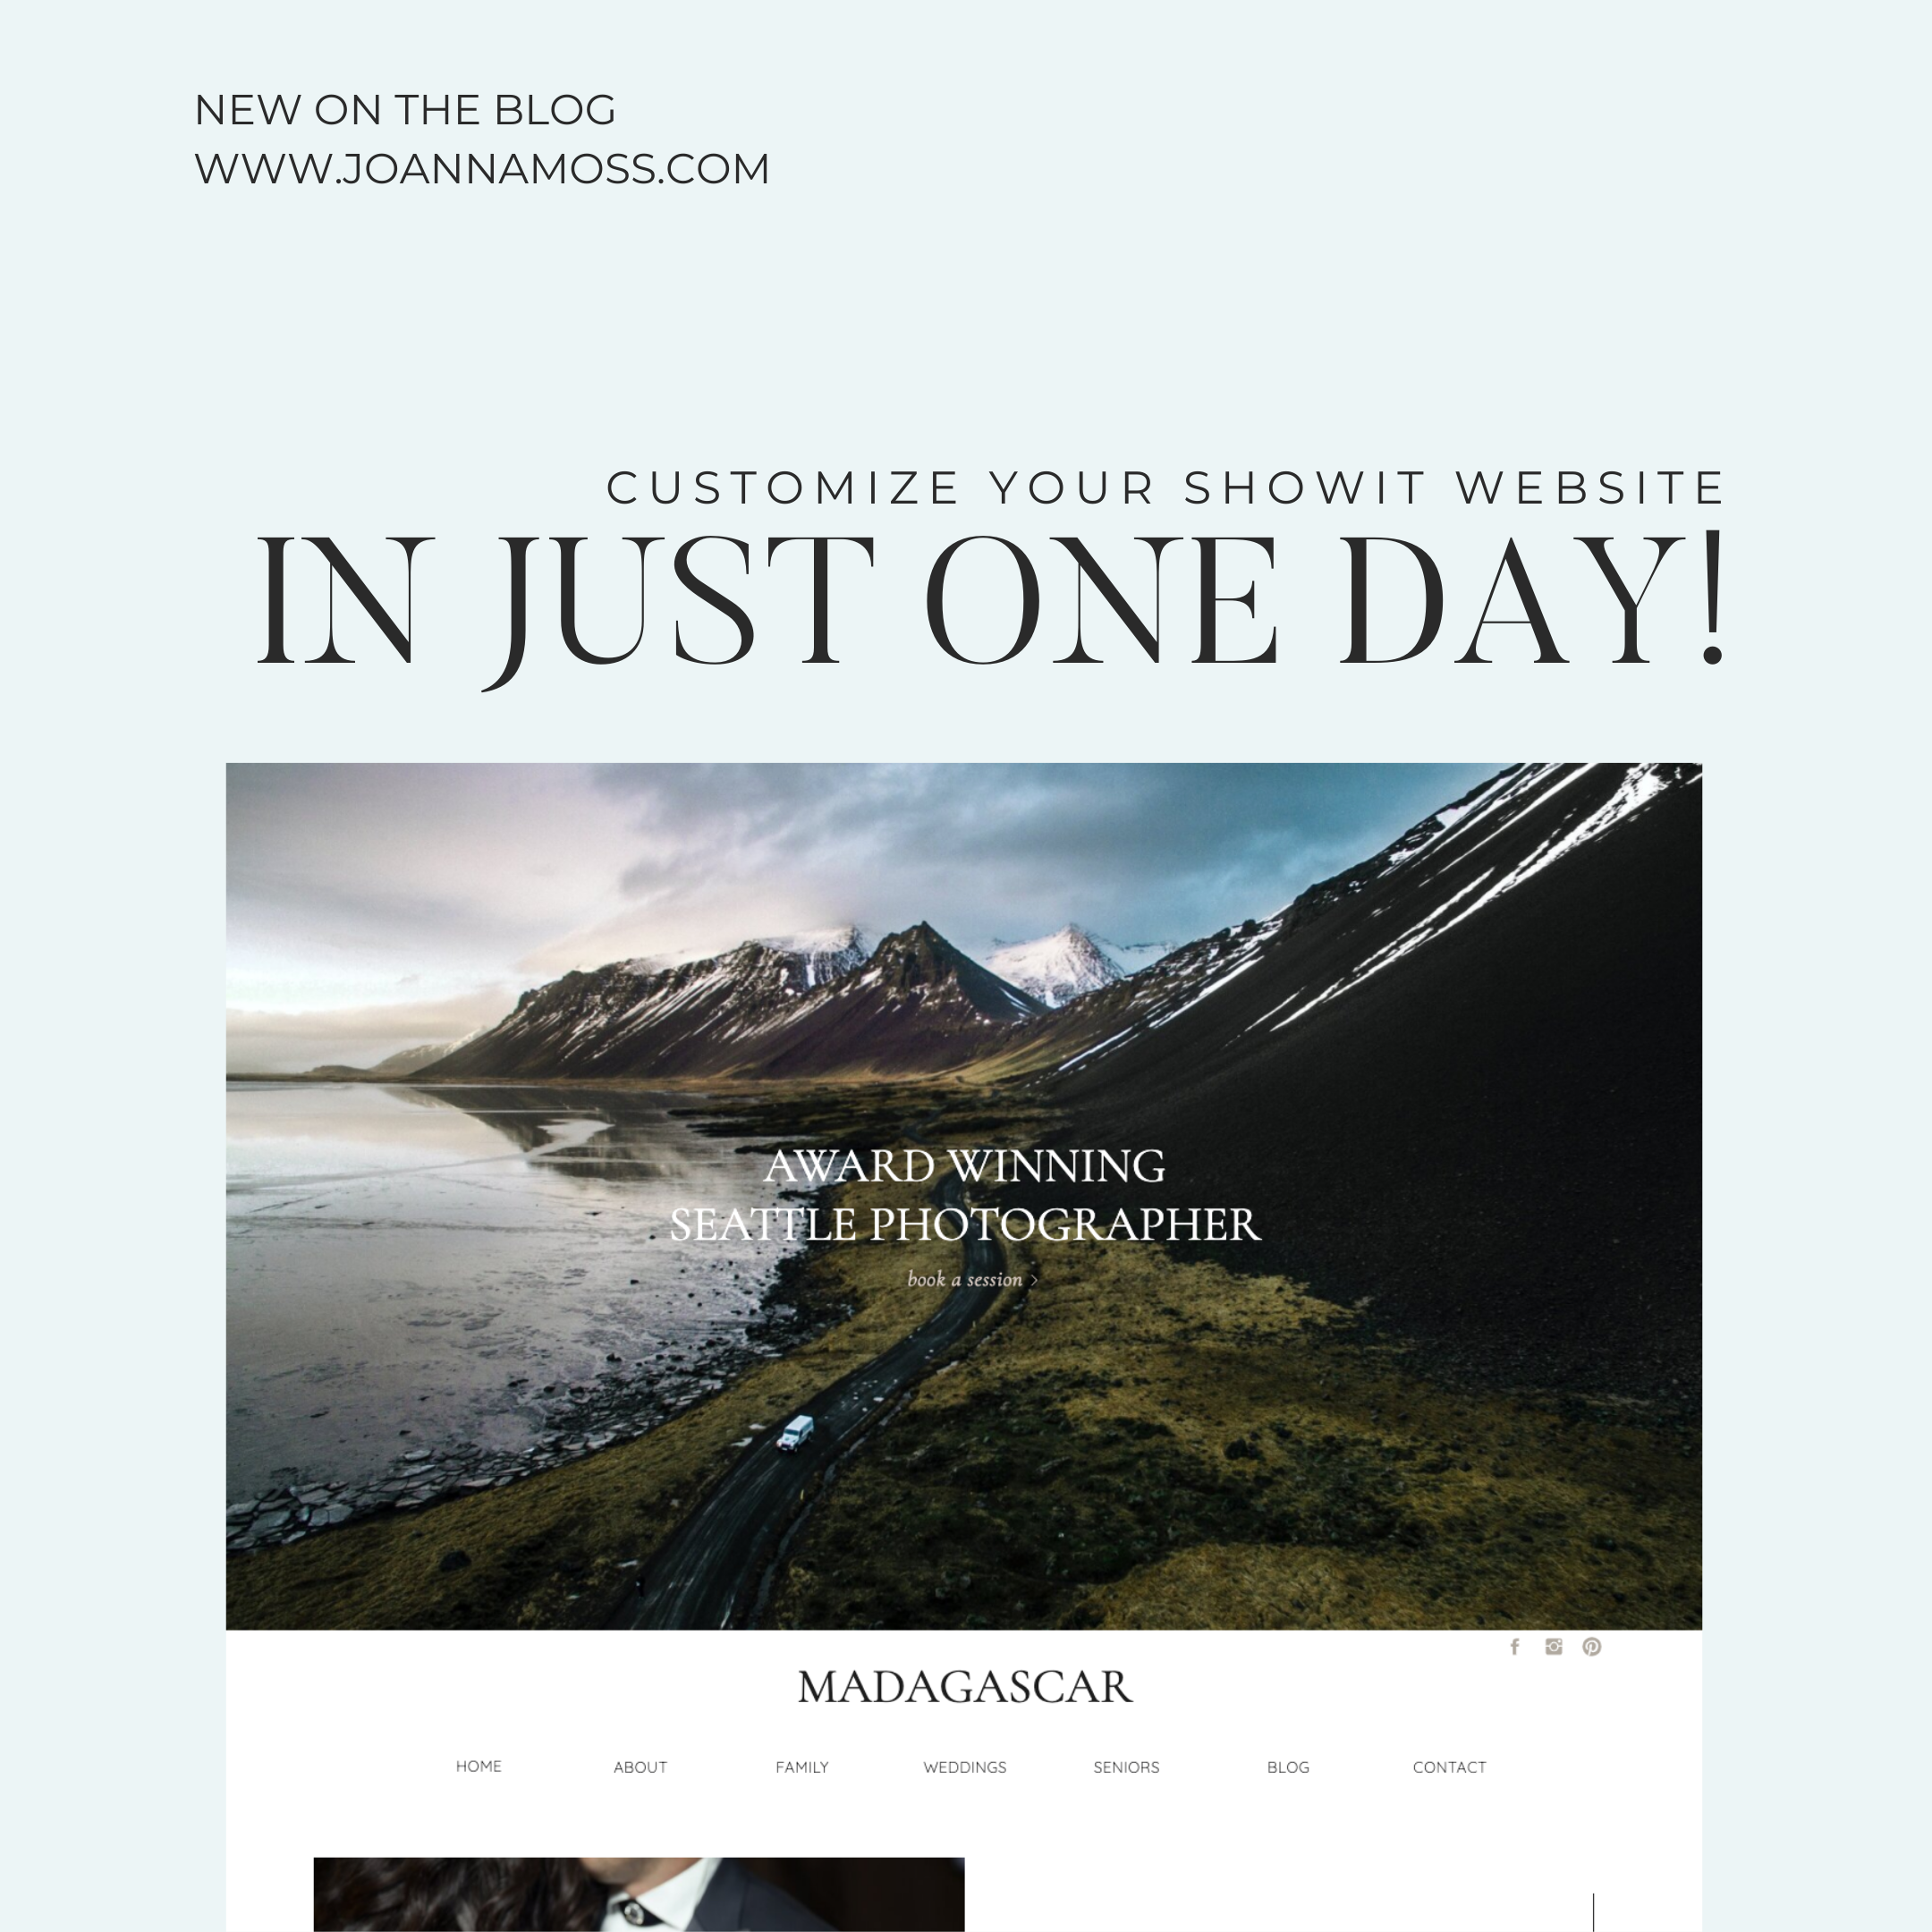
Customize your Showit template in one day
May 1, 2021
post Last Updated:
Showit is an awesome website platform for photographers and creative business owners. In this blog post, I’m going to tell you the steps you need to take to customize your Showit template. Before you start customizing your Showit template you are going to need to prepare a few things. If you haven’t yet read the […]
post Last Updated:


Showit is an awesome website platform for photographers and creative business owners. In this blog post, I’m going to tell you the steps you need to take to customize your Showit template.

Before you start customizing your Showit template you are going to need to prepare a few things. If you haven’t yet read the 6 Things you need to prepare before you start customizing your Showit website blog post I recommend you do that first. Getting all of these things prepared before you start customizing your website will help you get through the customization process much quicker.
Now that you have your content written, brand board, your photos & fonts neatly organized in your media gallery. You’re ready to start customizing your Showit website template.
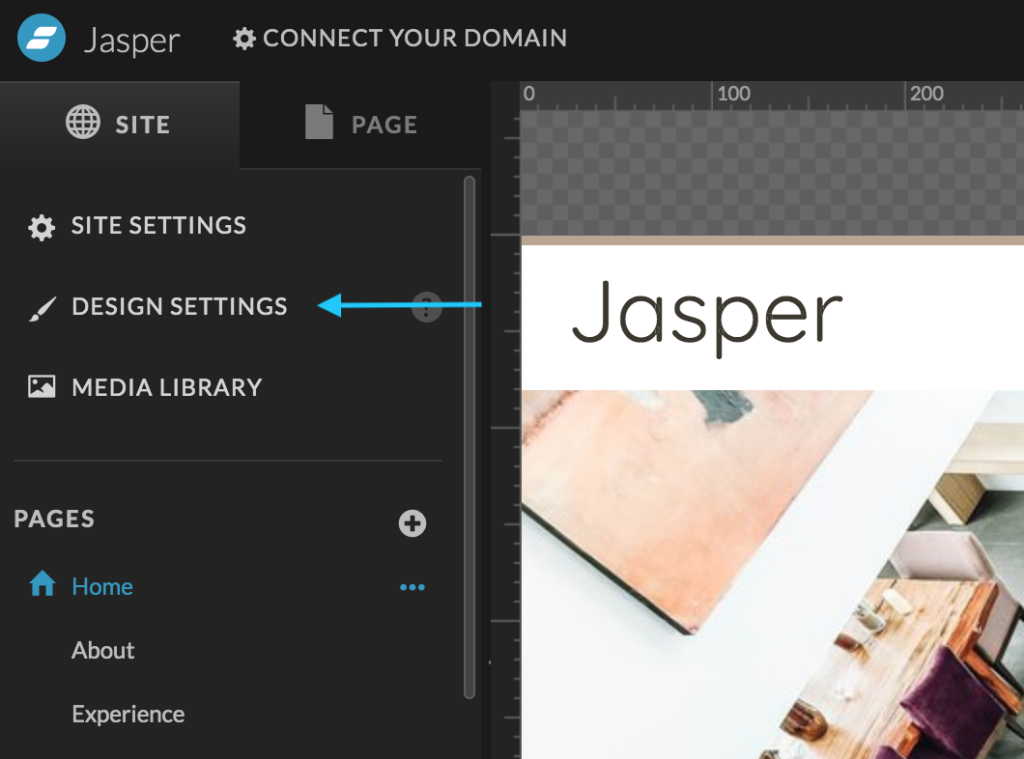
Step 1 to Customize your Showit template: Design Settings
Time to complete this step 30 minutes (if you have your brand board complete).
You are going to start your website customization by adding your brand colours and fonts into your Design Settings in Showit.
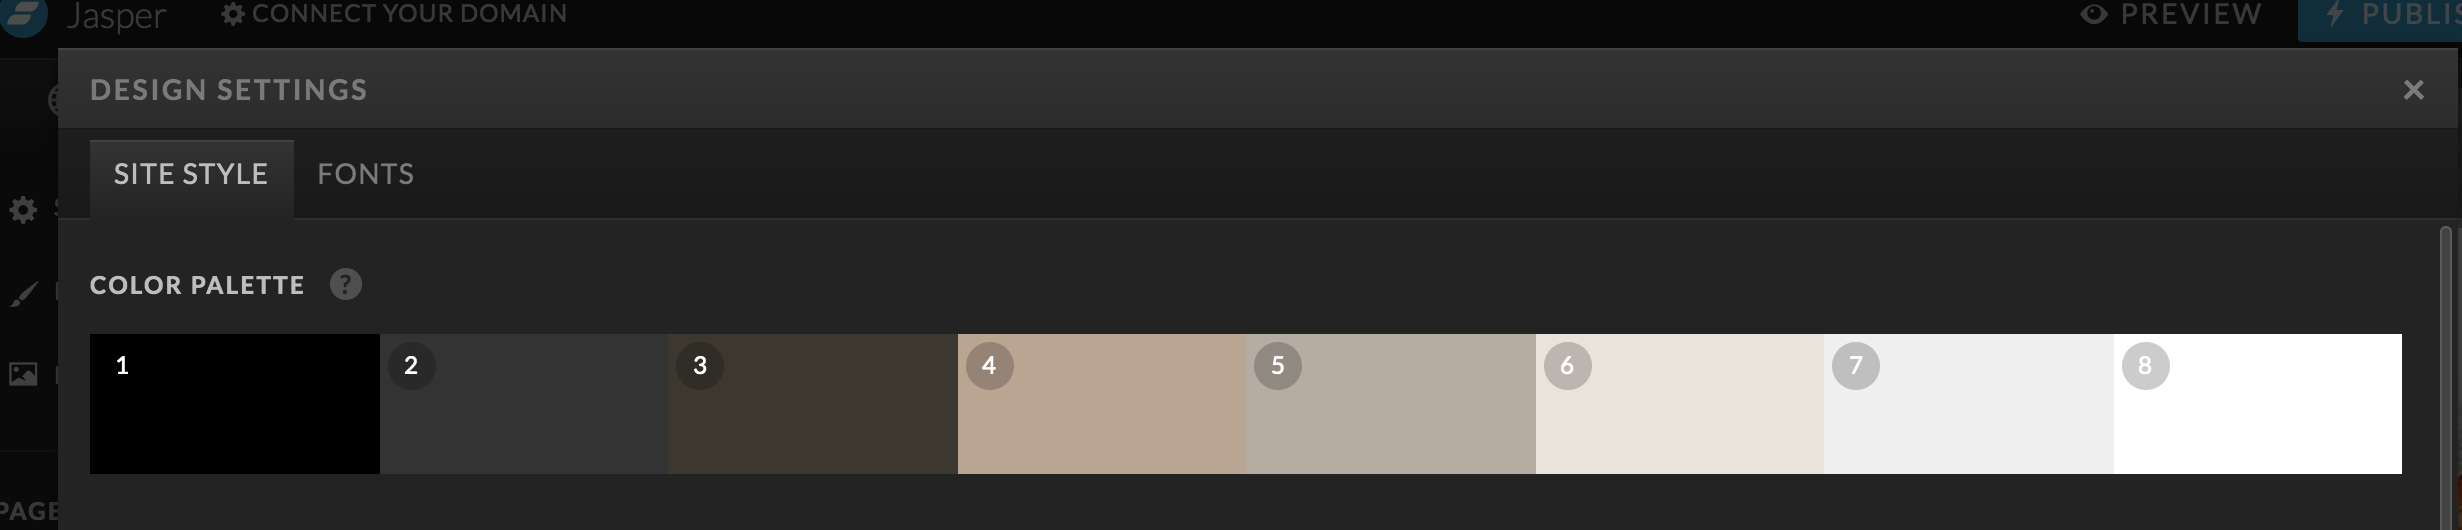
Colours
When changing your website colours it’s a good rule of thumb to have the colours go from darkest (#1 – Black) to lightest (#8 – White). You will use these colours throughout your Showit template, in fonts, backgrounds and buttons. Once you’ve added your colours go ahead and press the save button, and then go back into Design Settings and click the Font tab.
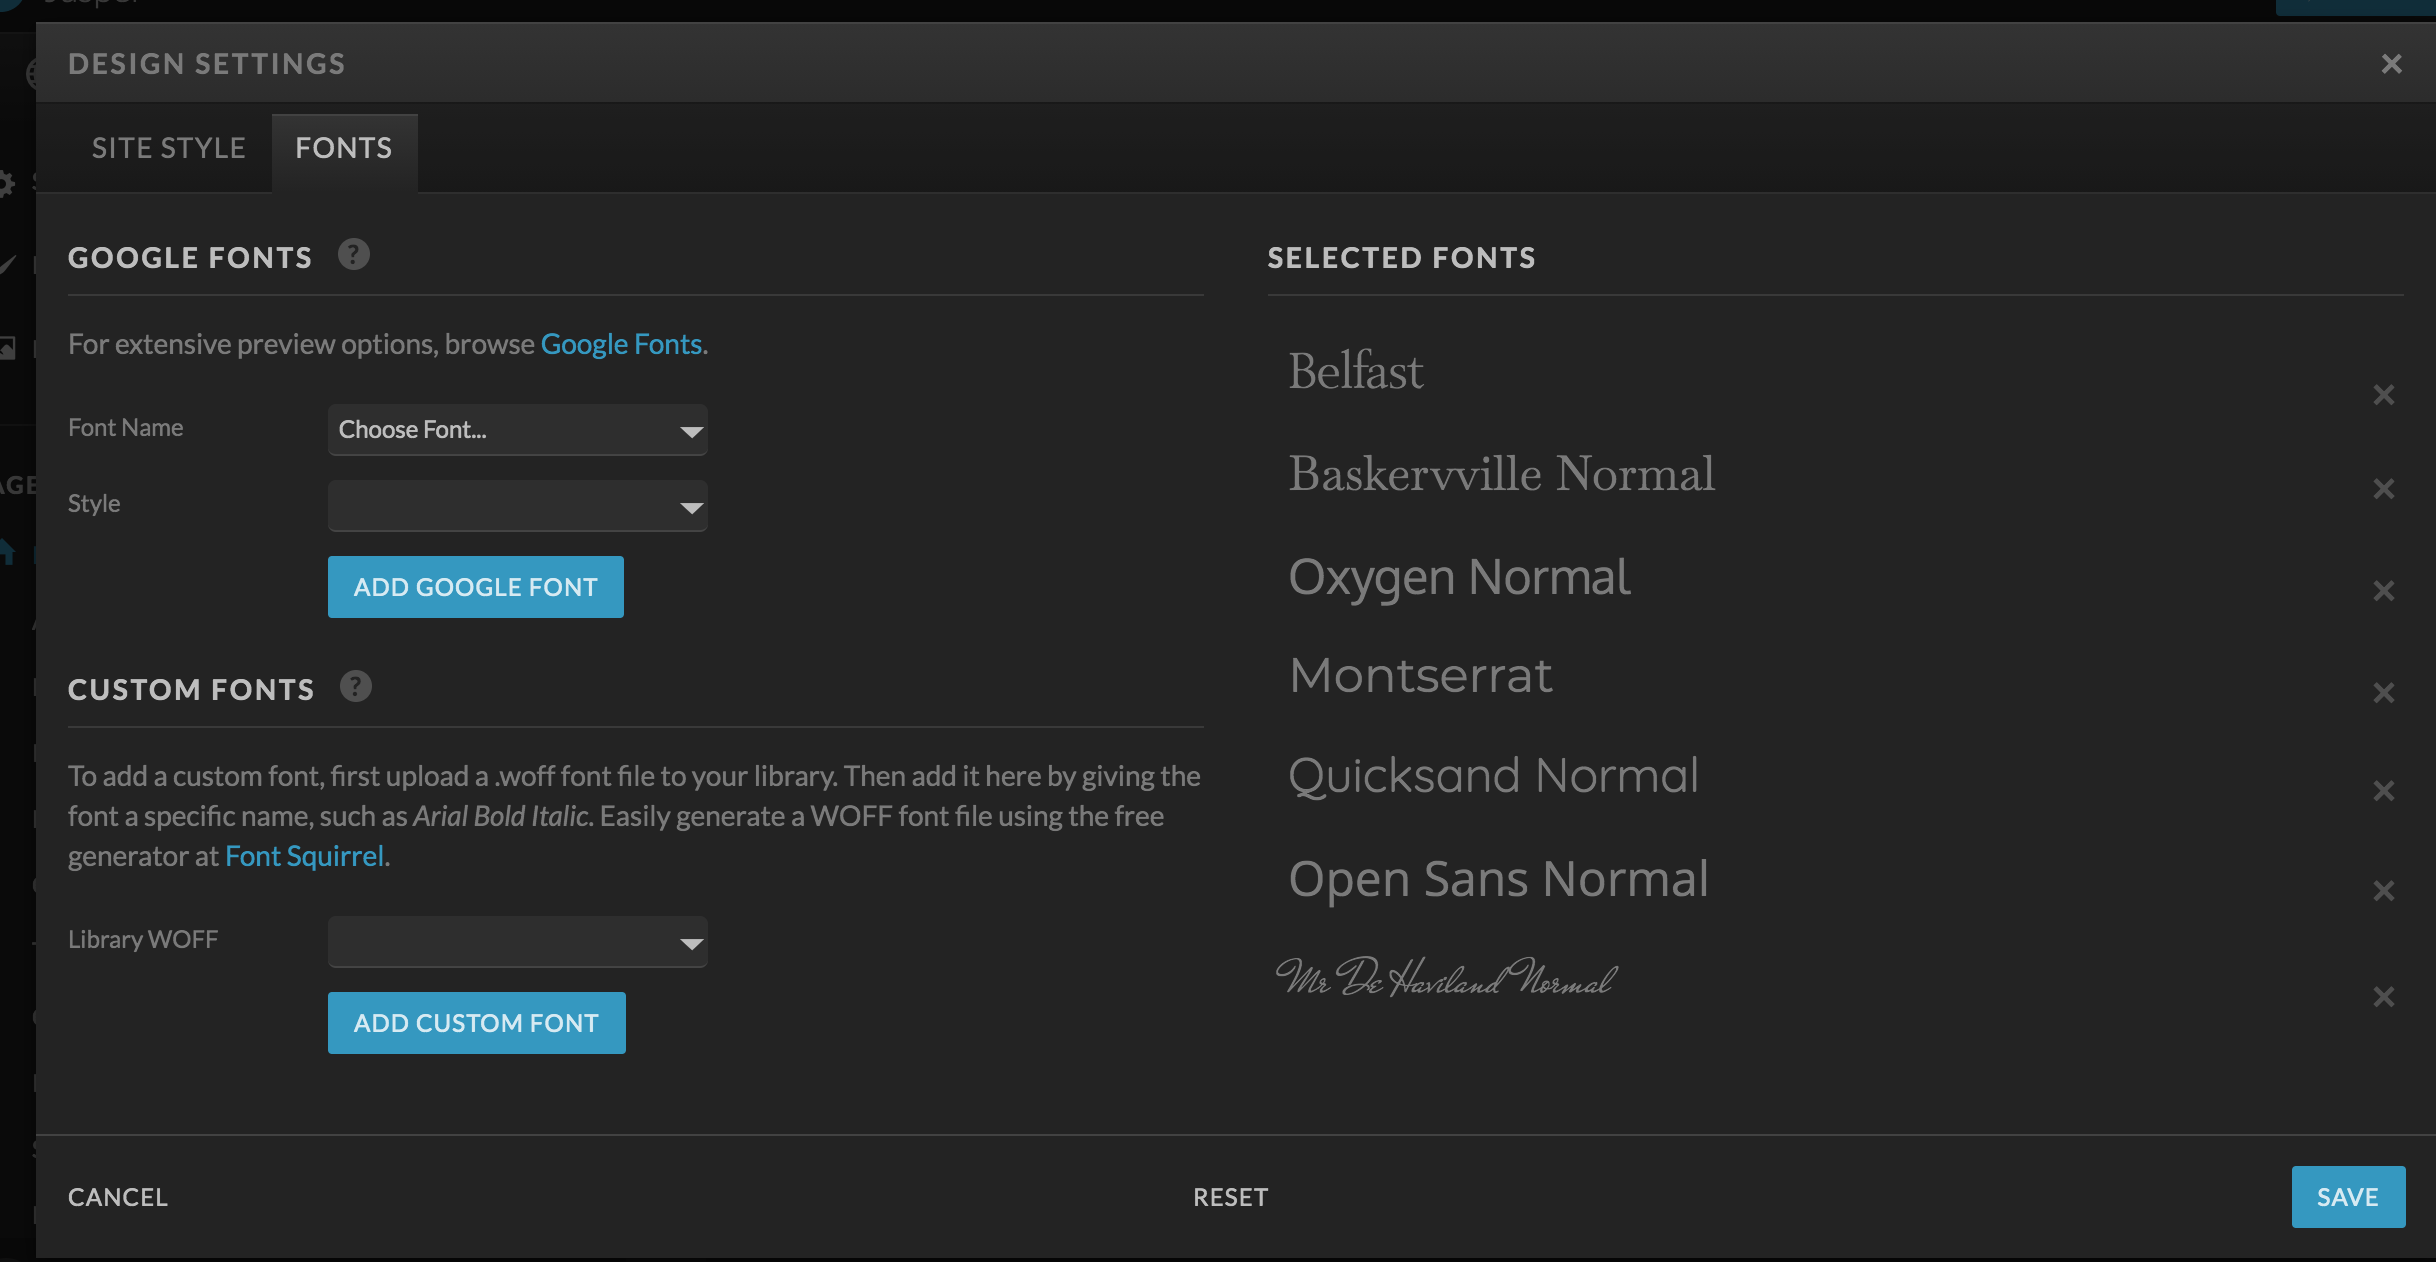
Fonts
Next, you will pick all of the fonts you want to use on your website. (Remove fonts that you won’t be using). Once you’ve added all of your fonts click on save. Then go back into Design Settings and click the Site Style tab. Now you are ready to set your website font styles.
Site Styles
The Title style should be the Boldest, this will be set as your H1 tag on the website. The Heading style should be less prominent than the title style but still, stand out from your regular text. The heading is used as the H2 tag on the website. The Subheading style I typically set to the style I will use for my navigation and calls to action. The Paragraph style is your content font, the bulk of your website will be in this style. That’s it, your website styles are set you’re ready to go to the next step.
Step 2 to Customize your Showit template: Home Page
Time to complete 2-3 hours.
In this step, you are going to start customizing your desktop home page. The home page is the best place to start because it sets the tone for the rest of the website.
Side note: I recommend customizing your mobile site at the same time as your desktop site (one canvas at a time). It will have you a lot of work at the end of the project.
Navigation
Start by customizing your website navigation, this is most likely a site canvas so it will change on all of the website pages already created. Link them to the correct pages of your website & change the font style to of the site styles you created.
Header
At the top of the page, you are probably going to have a main hero background image and header text. I recommend if it’s not in the template already add a call to action here to your contact page. This will ensure that those visitors ready to book when they arrive at your website don’t have to work too hard to give you their money!
Content & Photos
Work through the rest of the home page content and photos working through your content document. Since you are copy and pasting content and you have your photos organized this should not take too much time. I recommend checking the mobile site after you add new content or photos to make sure the design is good. Sometimes you will need to adjust the mobile layout and sometimes it will work without much adjustment.
Lead Magnet
I’m going to add this here because if you want a high converting website you need to have a strong lead magnet at the bottom of every page. If it’s not already created in your template, you can create one by adding a blank canvas. You can copy and past text from other parts of the website to create a lead magnet that fits the design of the rest of the site.

Footer
The footer should also be a site canvas, so when you make changes to it, it will change on all pages. The footer should have your logo, SEO blurb, navigation again, social media links. If it’s not already on your template I recommend adding these.
At this point, you should be done customizing your home page. I would recommend previewing it and making any corrections that need to be made. Check links are going to the correct pages, and that you have proper calls to action throughout the page.
Step 3 to Customize your Showit template: Website Pages
Time to complete 3-4 hours.
Once your home page done it will be easier to customize the other pages because you have a base to follow. Start with the About page, then the Contact page, then move to the services page and finish with the gallery page. Follow the same steps as you did in the Home page by adding your content and your photos. Do it one canvas at a time and check your mobile layout before you move to the next canvas.
Step 4 to Customize your Showit template: Portfolio Galleries
Time to complete less than 1 hour.
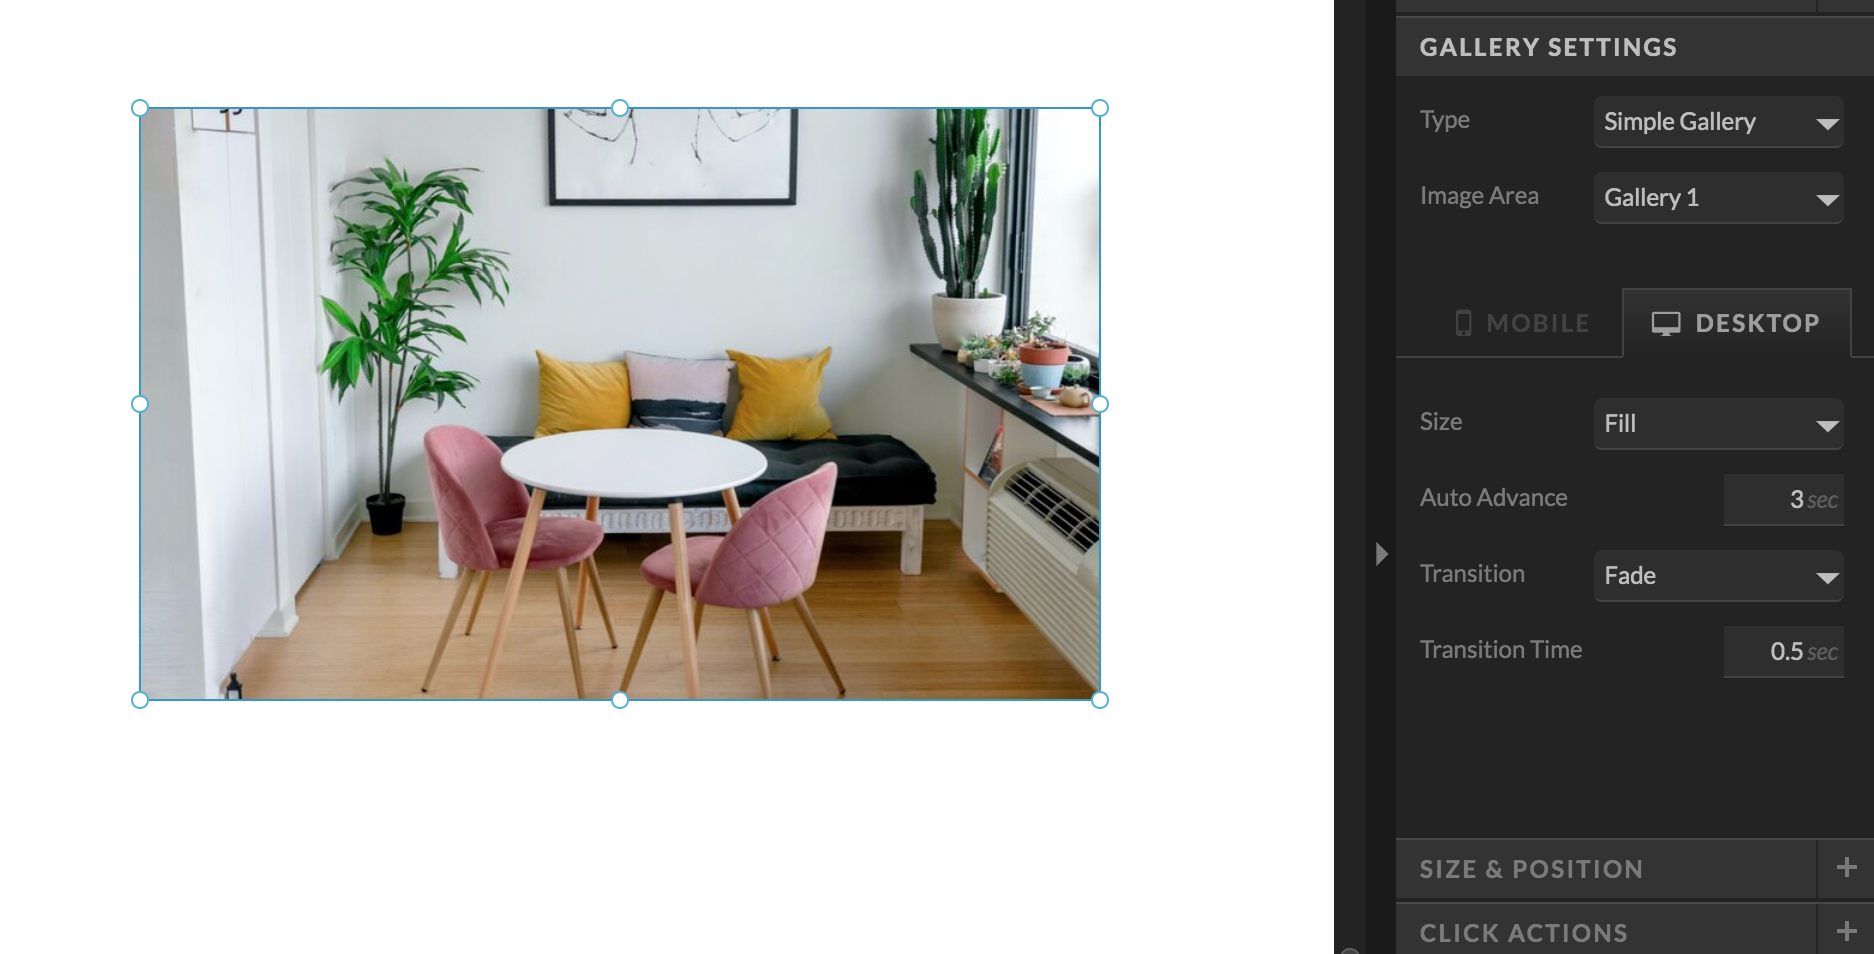
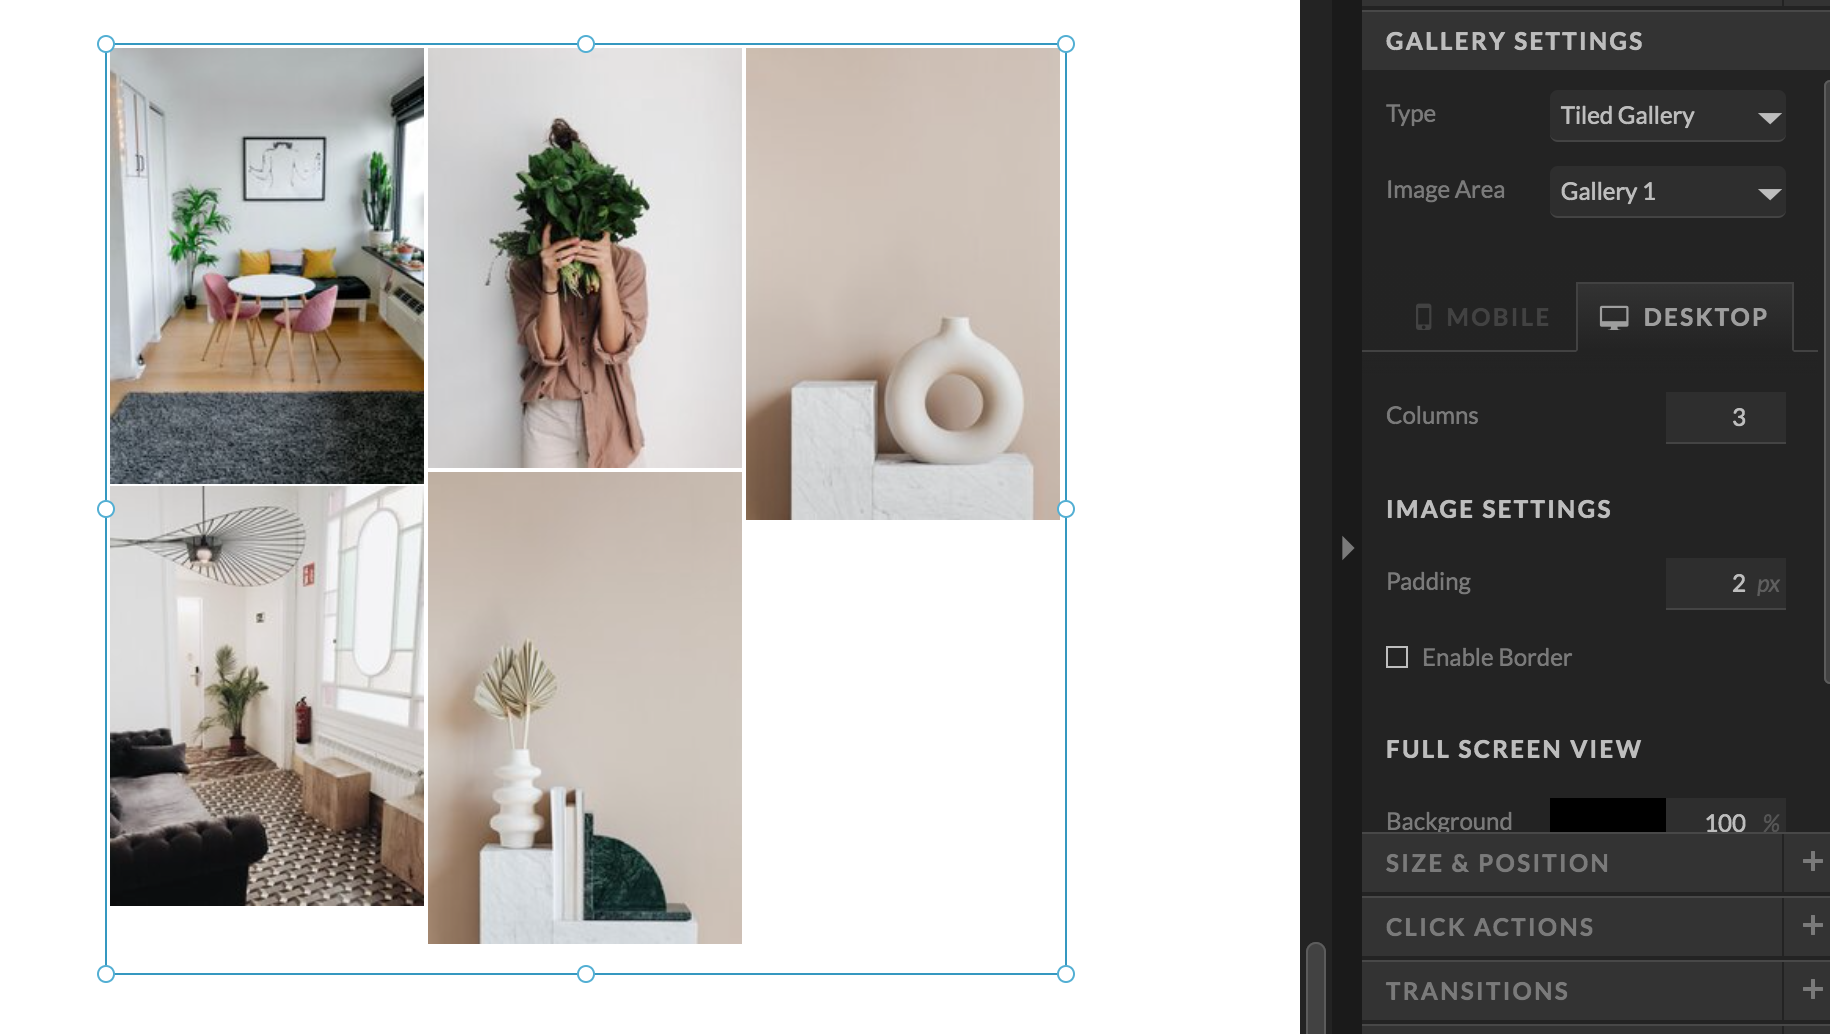
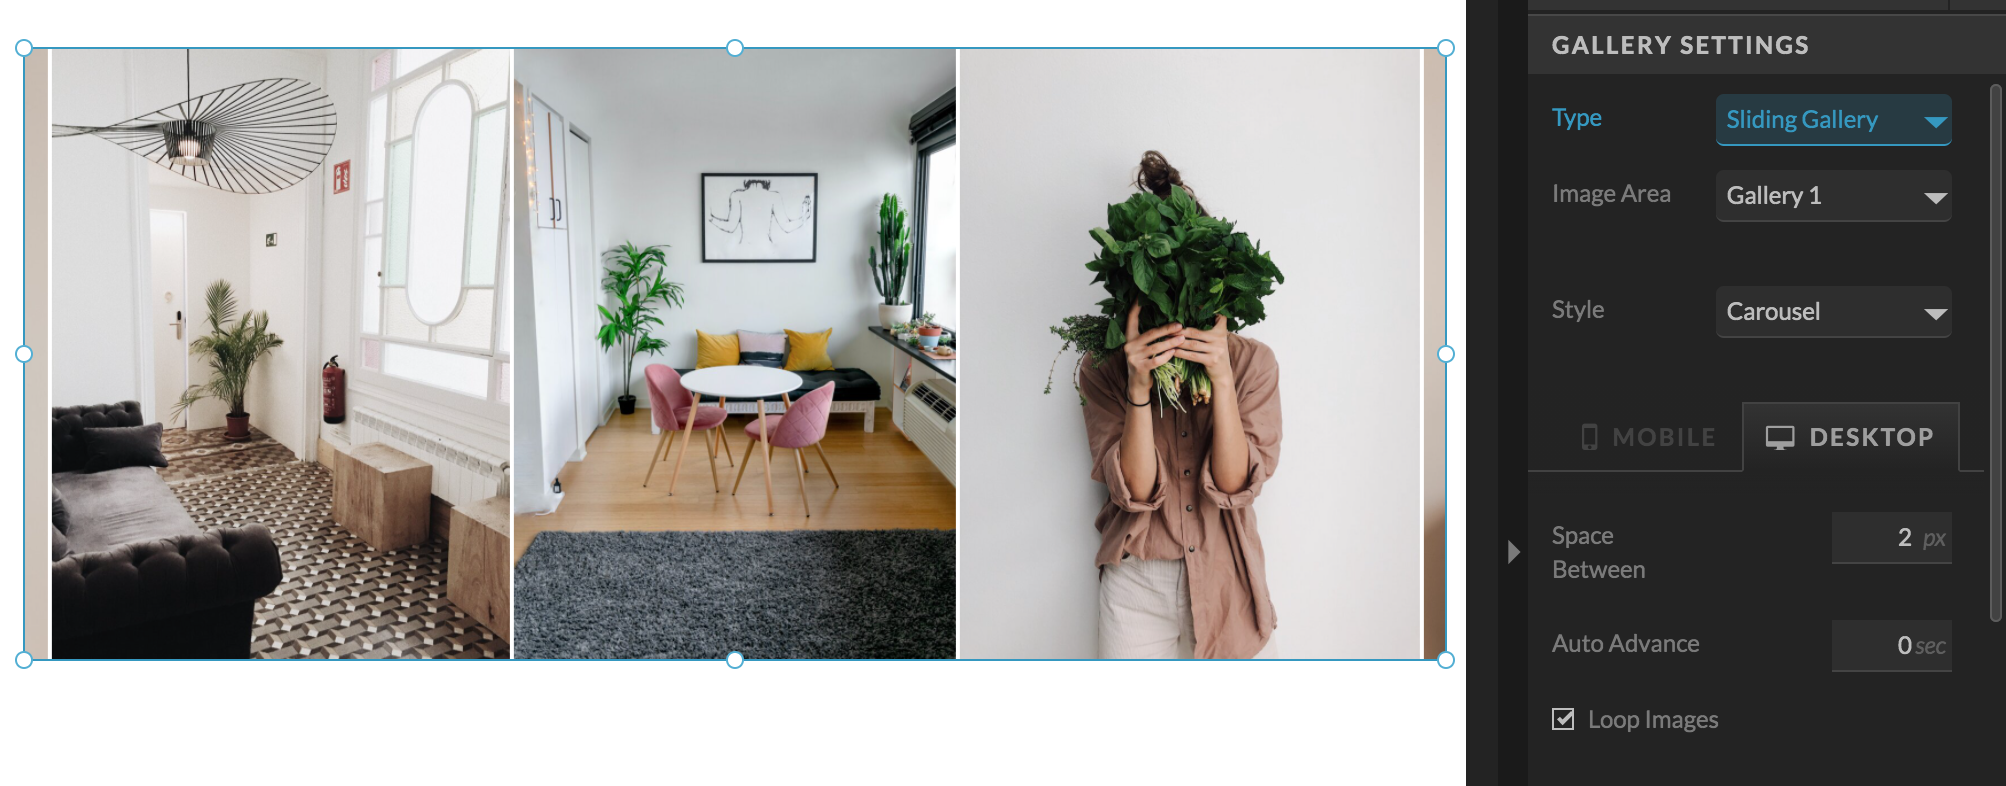
When you’re working on the gallery page you will probably need to pick what type of gallery you want for your site. There are a few options Sliding gallery, Slideshow gallery, and Tiled gallery. Each one will give you a different look. No matter which gallery style you pick I recommend having about 20-25 photos in each gallery.
SEO Tip: Add alt tags to your gallery photos as you’re working on the gallery.
Simple Gallery
Tiled Gallery
Sliding Gallery
Step 5 to Customize your Showit template: Blog
Time to complete 1-2 hours.
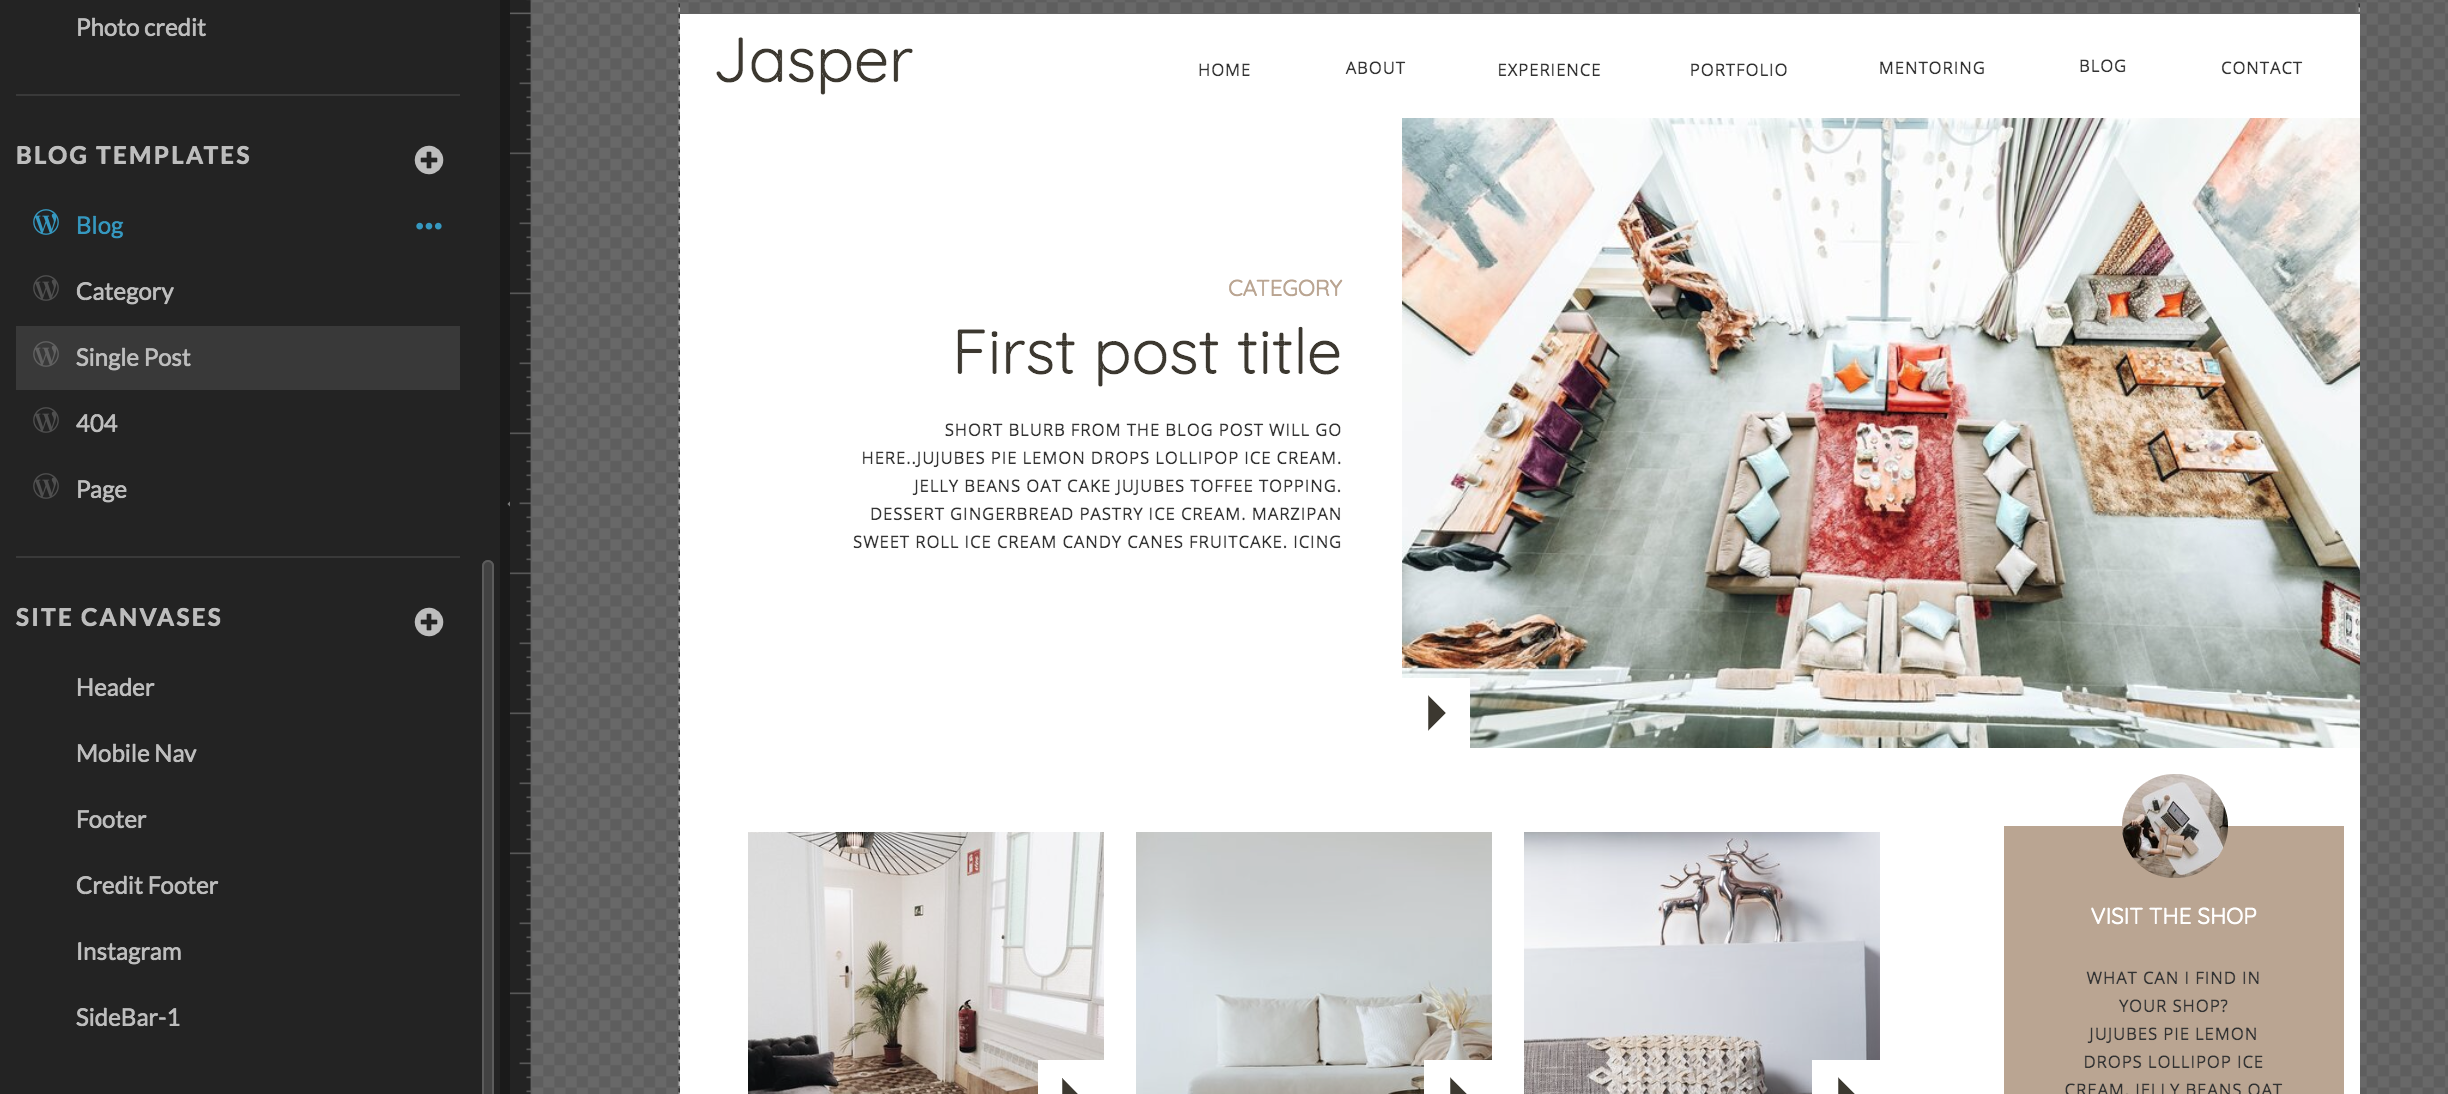
If you have a template that also has a blog you will need to edit some of the blog pages. The blog should be mostly step up for you with your Showit template. You will have some photos and content to edit in the sidebar probably. You don’t have to worry about the actual blog posts here because those will be pulled directly from your WordPress blog.
Step 6 to Customize your Showit template: Review
Time to complete 1 hour.
You’re all done adding your website content and photos. That was a huge job but you did it and you’re almost done! Yay! Now it’s time to preview your site, and review everything. Read all of the content, click on all of the links. Ask friends to review it for you and check for errors, spelling and broken links. Check both the desktop and mobile versions of your site.
Step 7 to Customize your Showit template: Launch Time!
Pop the Bubbles!.
Congratulations!!! You have just customized your Showit website in JUST ONE DAY! If you have not yet connected your domain (website address) to your Showit account now is a good time to do that. Although I recommend doing that before you start customizing. You can add a Coming Soon Page so it’s not just a blank page. But this way when you’re ready to launch you can just press publish and you’re done. The process of connecting your domain can take up to 2 days. Here is a Showit tutorial on how to launch your new site!
Need help customizing your Showit template?
If you need help customizing your Showit website template I have services available to help you. I offer Designer VIP Days if you want to launch your website in one day. If you have more time I also offer Showit website customization + SEO. When you’re customizing if you realize you need a little help to get over a technical hurdle, I offer Showit Training Calls.


Shop Tonic Website Templates
Tonic has my absolutely favorite templates in the game – their websites somehow combine killer strategy AND stunning, standout design. You're going to feel so confident in your new site!


Showit Tips →
for designers →
website strategy →
SEO strategy →


Tonic Templates →
Behind the Scenes →
BROWSE BY CATEGORY
BRAND UNMUTED
Brand Unmuted is where I share practical tips and strategies on Showit tips, Tonic templates, copywriting, and website strategy, helping entrepreneurs and designers build brands that can’t be ignored.


