Adding forms to your website might seem like a hassle, but when you’re using the right tools, it’s easier than you think! If you’re a Showit user, and you want to take your lead generation to the next level, integrating BDOW forms into your site is a game-changer. BDOW makes creating professional, customized forms a breeze, and Showit’s flexibility ensures your website is designed to wow your audience.
In this step-by-step guide, I’ll walk you through the entire process of adding a BDOW form to your Showit website. By the end, you’ll have a form that not only captures leads but also blends seamlessly with your brand’s style.
Why Use BDOW on Your Showit Website?
Before we jump into the tutorial, let’s talk about why BDOW and Showit make such a perfect pair. Showit offers creative freedom with its drag-and-drop design, allowing you to build beautiful, custom websites. Pair that with BDOW’s powerful form builder, and you’ve got a dynamic duo for capturing leads and growing your email list.
BDOW lets you create customizable forms, whether it’s a simple newsletter signup or a detailed project inquiry form. Plus, it integrates easily with tools like Mailerlite, so you can start nurturing those leads immediately.
Step 1: Set Up Your BDOW Account
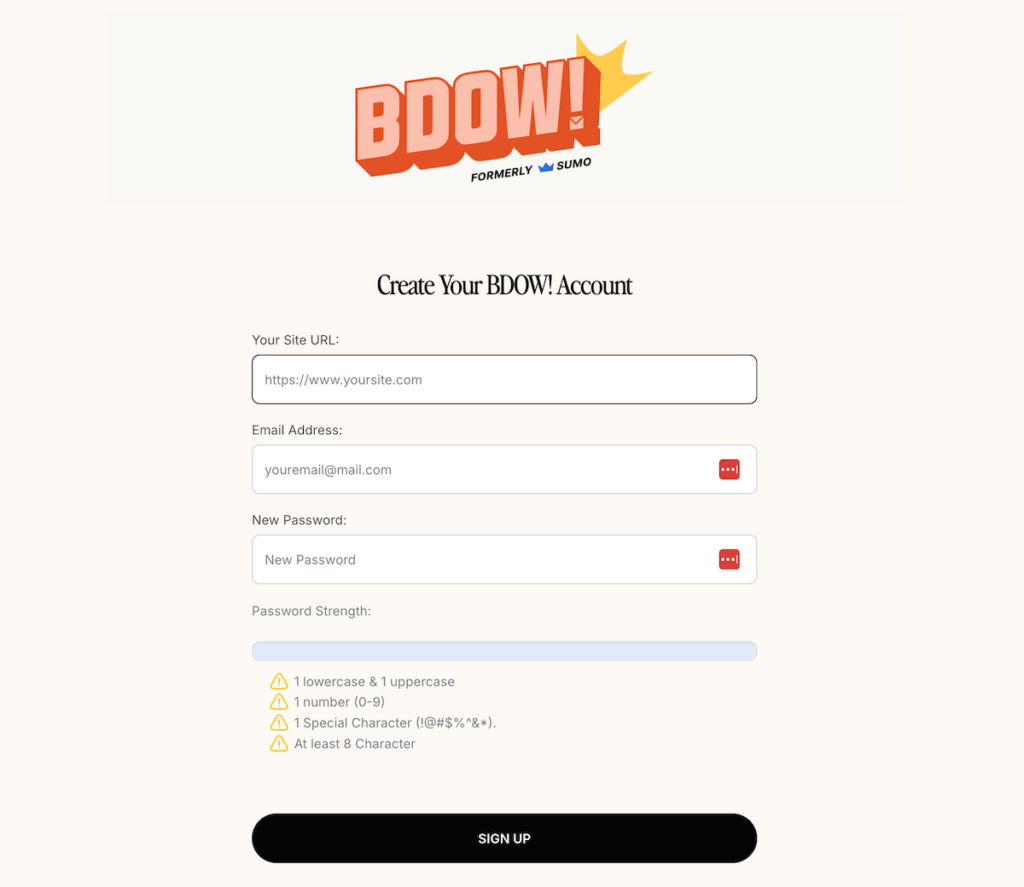
First things first: if you don’t already have a BDOW account, you’ll need to sign up for one. The process is straightforward, and you can get started in minutes.
Here’s how:
- Head over to BDOW’s sign-up page.
- Choose the plan that works best for your needs (and don’t forget—you can get a discount with my link!).
- Once you’re all set up, log into the BDOW dashboard.
Pro tip: The BDOW interface is super intuitive, so even if you’re not tech-savvy, you’ll find it easy to navigate. The dashboard gives you access to all the tools you need to create and manage your forms.
Step 2: Create Your First Form in BDOW
Now that you’re all set up with BDOW, let’s dive into creating your first form. Whether it’s a simple newsletter opt-in or a detailed project inquiry, BDOW makes the entire process effortless—and it’s packed with features to help you tailor your form exactly to your needs.
Here’s how to create your form:
- Go to the BDOW Dashboard: Once logged in, head to the “Forms” section where you’ll be prompted to start creating your first form.
- Choose Your Goal: BDOW gives you the option to set specific goals for each form, like increasing subscribers, driving sales inquiries, or collecting feedback. By choosing the right goal, BDOW can optimize the design and functionality of the form to help you achieve exactly what you need.
- Select Your Form Type: BDOW also allows you to choose the type of form you want to create—like an embedded form, a popup, or even a slide-in banner. This flexibility ensures your form complements your website’s layout while still grabbing attention.
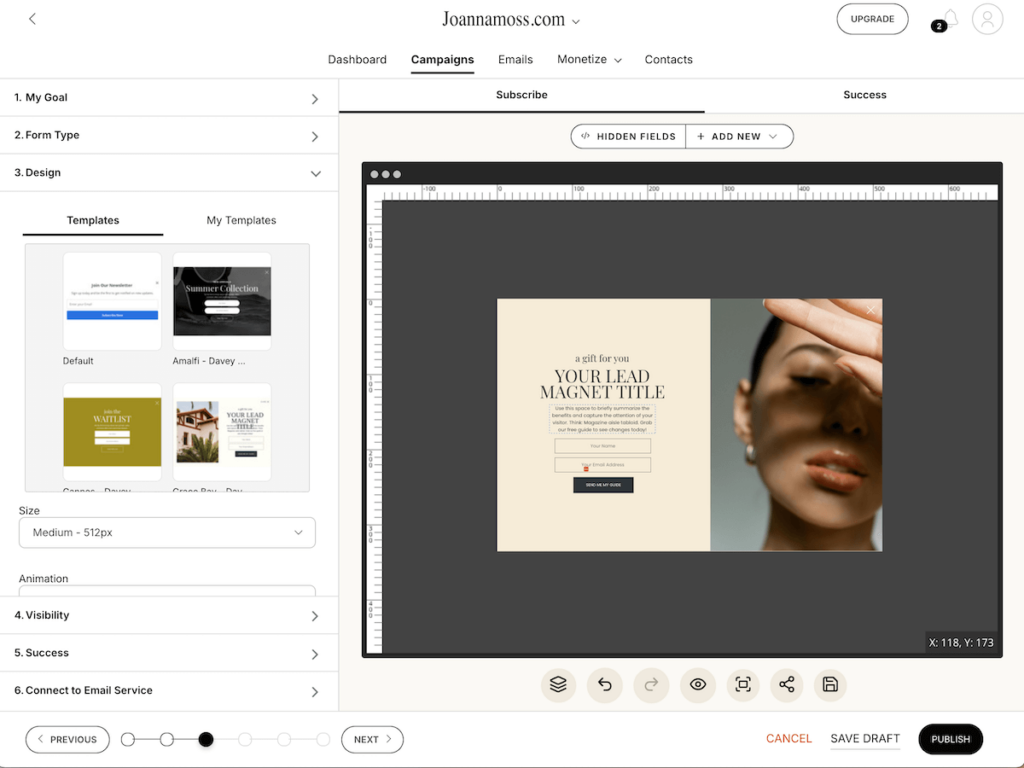
- Choose a Pre-Designed Template: BDOW has a library of beautifully pre-designed templates that are easy to customize. Simply select a design that fits your aesthetic, and tweak it to match your brand’s colors, fonts, and messaging.
- Customize the Fields: You can easily add or remove fields to collect exactly the information you need.
- Set Your Success Options: Once someone fills out your form, you want to make sure they know it was a success. BDOW gives you several success options: you can either display a thank-you message, redirect the user to another page, or even trigger an automated email response.
Tips for High-Converting Forms:
- Keep it simple: The fewer fields you have, the more likely people will complete the form. Stick to essential information.
- Strong call to action (CTA): Use engaging CTAs like “Join the Community” or “Let’s Chat” to invite people to fill out your form.
- Make it visually appealing: BDOW lets you fully customize the design, so ensure your form matches your brand colors and fonts.
Step 3: Customize Your Form for Maximum Impact
Customizing your BDOW form goes beyond just picking colors and fonts—it’s about making sure the form is displayed in the right way, at the right time, for the maximum impact on your visitors.
Here’s how to customize your BDOW form for ultimate results:
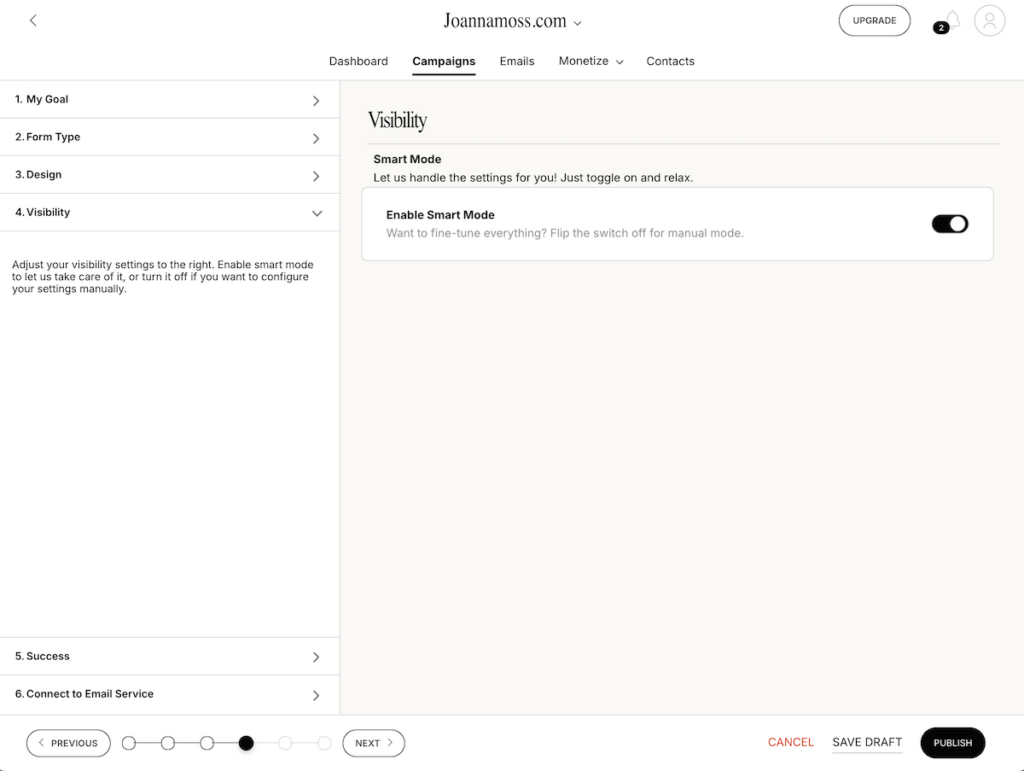
- Leverage BDOW’s Smart Mode for Popups: One of the standout features of BDOW is its Smart Mode, which controls when and how your forms are displayed. No need to stress over timing your popups perfectly—BDOW automatically adjusts when the form should appear based on user behavior.
For example, it might trigger a popup just as a visitor is about to exit, or after they’ve scrolled through a certain percentage of the page. This takes the burden off you, allowing BDOW to manage your form visibility to capture leads more effectively.
- Control Form Visibility Across Your Site: BDOW also lets you manage where and how often your form appears across different pages of your Showit site. You can set visibility rules so that your forms show up only on specific pages, ensuring they’re targeted for the right audience.
Step 4: Integrate Your Form with Showit
Now, let’s integrate your new BDOW form into your Showit website.
Here’s how to do it:
- Get the Embed Code from BDOW: After finalizing your form, head to the “Embed” section in the BDOW dashboard and copy the embed code.
- Open Showit: Log into your Showit account. Navigate to the page where you want to place the form.
- Embed the BDOW Form: In Showit, add an “Embed Code” element and paste the BDOW form code into it. Place the form in a highly visible spot—like your homepage, services page, or blog.
Step 5: Enable Email Notifications for Instant Lead Alerts
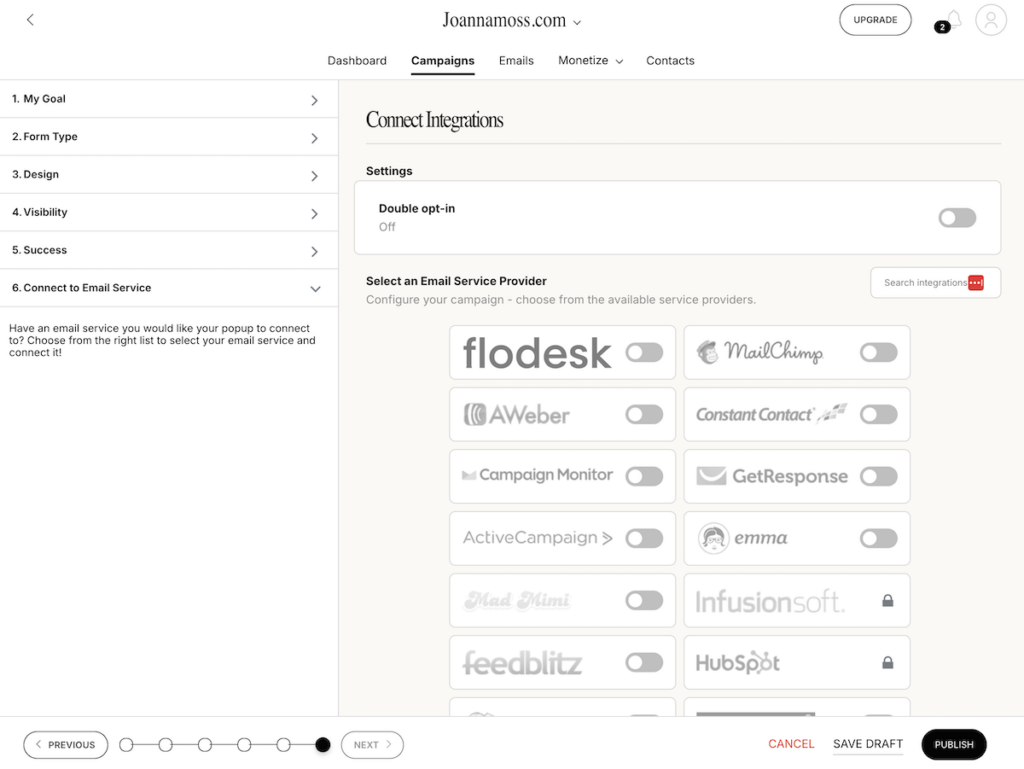
You won’t want to do this for all of your forms. However, BDOW now makes this easy to see when someone fills out your form by offering real-time email notifications. This is great for contact forms but not so much for email signups.
How to set up email notifications:
- Go back to your BDOW form settings.
- Click on “Notifications.”
- Set up an alert to send an email directly to you (or your team) whenever a form is submitted.
This feature is perfect for staying on top of new inquiries, so you can follow up quickly and professionally.
View it live here: joannamoss.com
Step 6: Test Your Form and Go Live
Before you officially launch, it’s essential to test the form to ensure everything works as it should. BDOW allows you to preview how your form looks and functions, both on desktop and mobile devices.
Steps for testing:
- Preview in BDOW: Check your form’s functionality and design.
- Test Embed in Showit: Go to your Showit page, view the live site, and test the form in real-time.
- Test Responsiveness: Open the page on mobile devices to ensure the form is mobile-friendly.
- Once everything checks out, hit publish, and your BDOW form will be live and ready to start capturing leads!
What are you waiting for?
Adding a BDOW form to your Showit website is one of the easiest and most effective ways to capture leads and grow your email list. BDOW’s customizable design paired with Showit’s flexibility means your forms will not only look stunning but also function seamlessly.
Now that you know how to set up and embed your BDOW form, it’s time to give it a try! Get started with BDOW today and save on your first payment. If you’re new to Showit, don’t miss out on one month free to create a beautiful, lead-generating website.
With these tools in your hands, capturing leads and engaging with your audience has never been easier!
Shop Tonic Website Templates
Tonic has my absolutely favorite templates in the game – their websites somehow combine killer strategy AND stunning, standout design. You're going to feel so confident in your new site!
